Building the 175 Guitar Kit: Part II
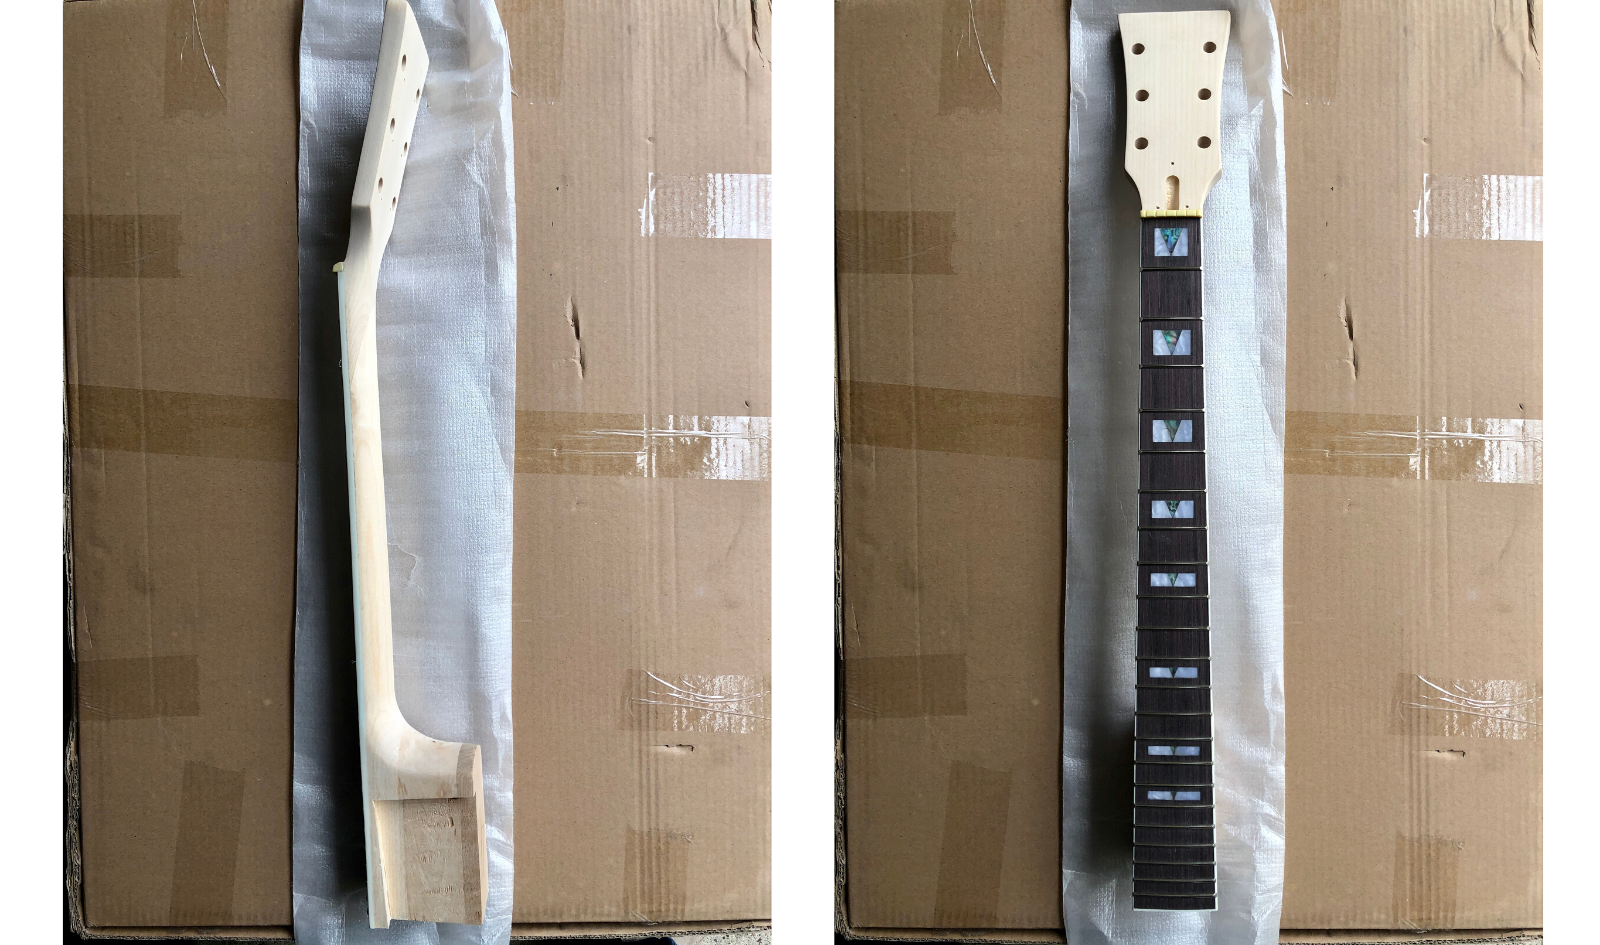
So, a quick update on building the 175 guitar kit from TheFretWire.com. Good news and bad news. Good news: the neck is ready. Bad news: I had to go back to the drawing board for the finish on the body.
This is part of an ongoing series as I build a 175-style guitar from TheFretWire.com:
- Building the 175 Guitar Kit From FretWire: Part I
- Building the 175 Guitar Kit: Part II
- Next Up: Part III, the Finishing Schedule
The Neck (AKA "The Good")
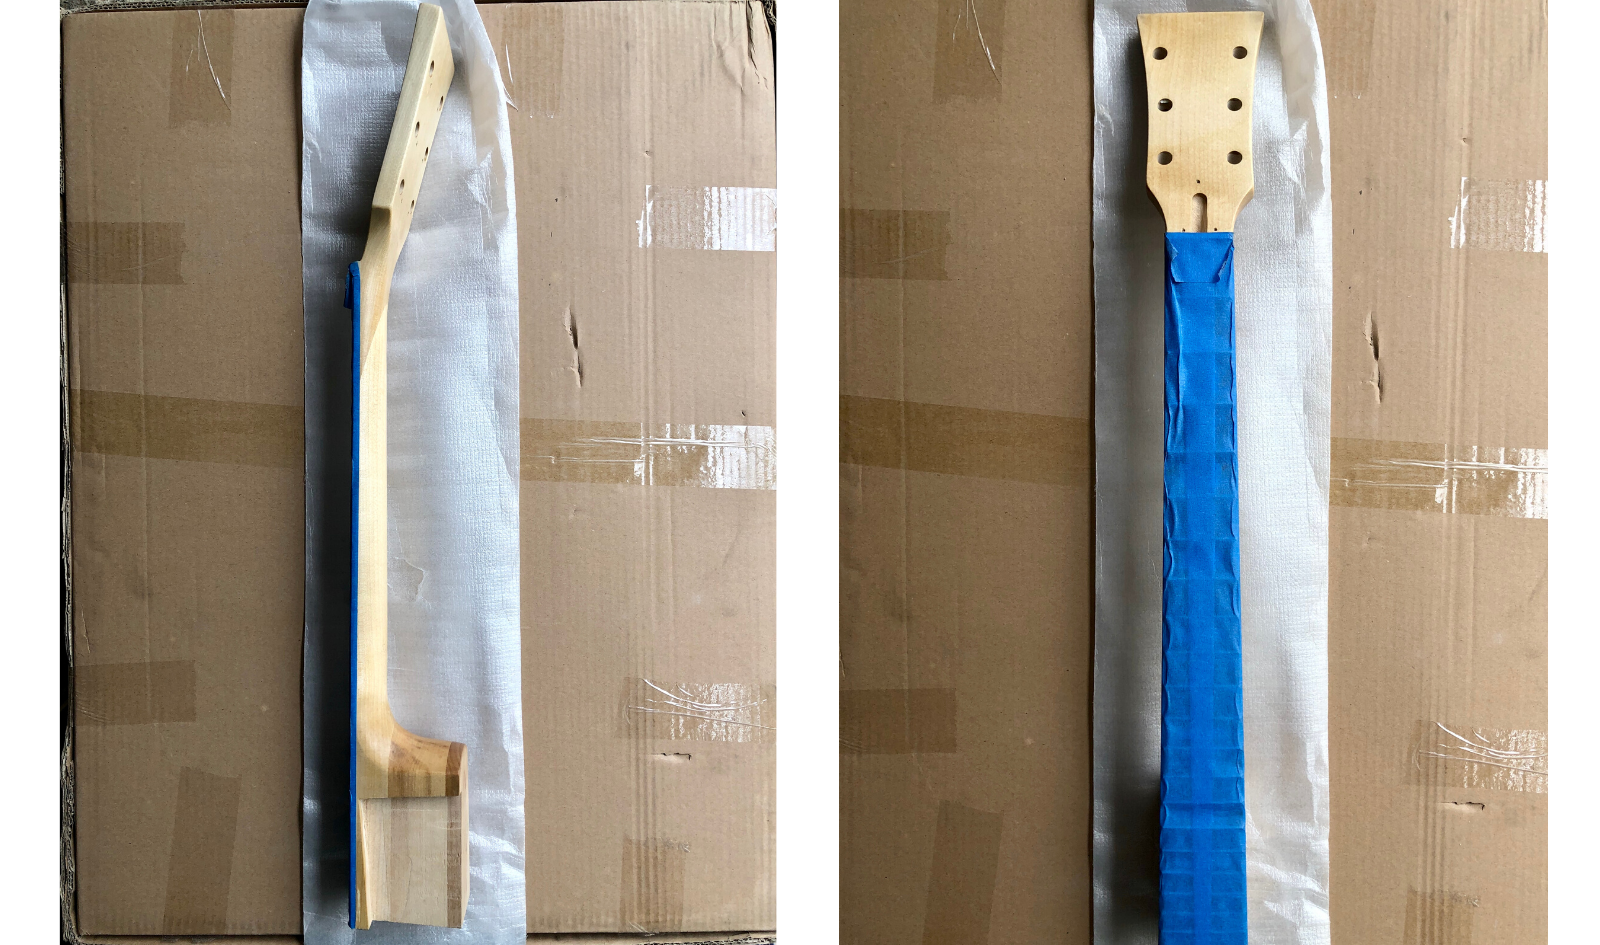
As I discussed in "Part I", I teated the guitar neck following this article from the Zzounds blog. The guitar neck in this kit comes already shaped, drilled, and sanded. So the steps that I needed to complete are relatively short:
- Applying neck finish
- Applying neck wax
- Apply fretboard oil to treat the fretboard itself
I followed the blog's directions and applied 6 coats of Birchwood Casey Tru-Oil Gun Stock Finish to the neck. In between each coat I used 0000 steel wool to sand the neck and then waited 24 hours. So the work only took 15 minutes at a time, but was spread out over a week.


Based on the photos on the Zzounds blog, I assumed this finish would darken the wood more, but it did not. The result was a slight dark yellow color applied. Also, the grain looked slightly more pronounced. Even though it was a lighter color result than I anticipated, I was happy with it.
I then applied 3 coats of Birchwood Casey Gun Stock Wax. I applied these coats one after another in one sitting. The result was less silky than I imagined. I may try to apply a few more coats when I get closer to assembly time.
The Body (AKA "The Bad")
Well, this was a classic newbie mistake! But I'm happy to share my learning experiences here if it helps you avoid wasting time and money ; )
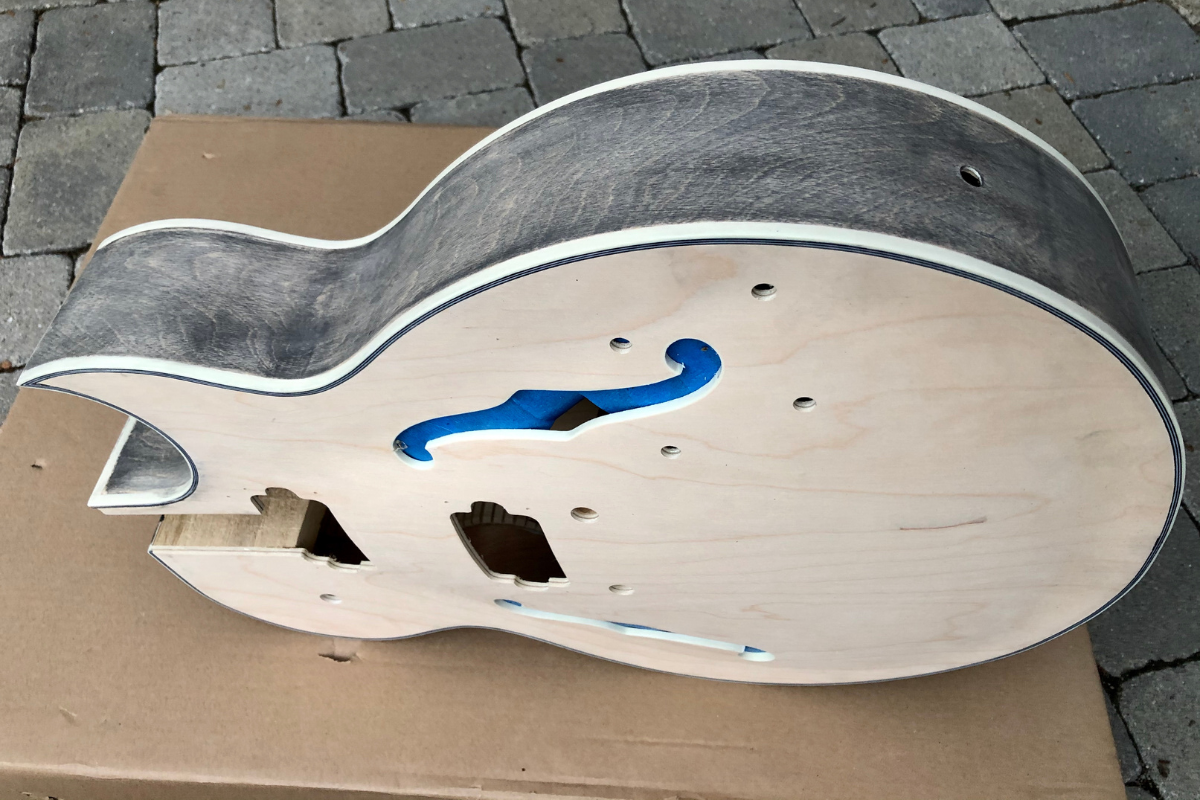
I taped up the binding on the body of the guitar. That took some time and concentration, but was a smooth process. Then I did a light sanding with 600-grit sandpaper to smooth out the surface of the top, middle, and bottom. Truth be told, the body didn't need much sanding. I probably could've skipped this altogether.

Based on this article at GuitarKitWorld.com, I used an ebony-tinted wood grain filler. The goal of this product is to fill in the grain of open grain wood, in order to make the grain of the wood 'pop' visually, with a higher contrast between the grain striations.
I made two mistakes here:
- The guitar body is basswood, which does not require wood-grain filler at all. If it was mahogany, or another "open grain" type of wood, then maybe. But I actually didn't need it here.
- The ebony-tint is really dark. It applies as a charcoal color, and dries to a slightly greyer tint. I applied it to the sides at first, and was not happy. It was too dark. There was no way I was going to be able to apply the "straw" color stain on this. I would've had to either a) sand down the wood-grain filler a lot (and risk sanding down through the wood too far), or b) be satisfied with "straw" and "charcoal" alternating striations in the wood as a final finish.
So... I had to re-think things.
New Plan
After some more research I weighed my options:
- Do I still do a semi-transparent finish that shows the wood grain...but use dark blue or dark brown, to better cover the ebony-tint wood filler?
- Do I leave the sides with the wood-grain filler, but not do the top and bottom? Or do I carry on and apply the wood-grain filler to the top and bottom also to make it all match (even if I don't like the result really)?
- Do I set it on fire and walk away??!
In the end, I found another solution. Using aerosol spray-on finished from StewMac.com to apply a solid color to the whole body.

StewMac.com is a major, reputable, guitar-building site with lots of resources for building your guitar - from newbie to advanced.
The resource that 'clicked' for me, was their ColorTone Aerosol Finishing Set Instructions for Tinted Guitar Lacquers (PDF Instructions: download here)
StewMac appear to have two main paths for finishing a guitar body:
1) the Aerosol can route - great for beginners, basic color options, ready-to-buy combo packages
2) Tints for Spray guns - need more equipment, more advanced technique, but you get way more color options
I opted for the Aerosol can route. But I wasn't happy with their color options. Now that I was re-thinking my guitar design, I was really interested in a doing a dark blue color on the whole body. And while StewMac has all the other products for an aerosol finish, they didn't have a dark blue aerosol finish available. So I went looking on the web.
Turns out there's lot of other options for aerosol guitar finish out there: Reranch, Mohawk, some British options, and more.
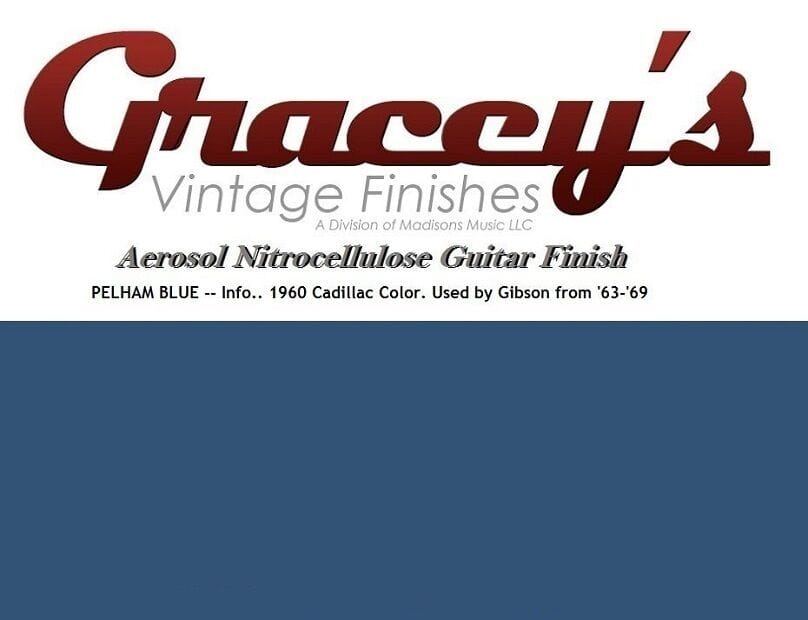
I settled on a "Pelham Blue" from Gracey's Vintage Finishes via Madison's Music Store on eBay.

Conclusion
The new supplies are in the mail. I'm set back another $110 bucks (approx $80 for the StewMac supplies, and $30 for the Pelham Blue finish), but I'm learning. And I'm excited about how the guitar's gonna look.
